
Automating our Lead Management System Using Selenium

Introduction
Today, I am taking you on a journey of automating a Lead Management System. Lead Tracking System, as the name suggests is a system designed to keep track of all the leads a company has or procures.
From a broader perspective, it is a system where an organization can store, view, and update all the information about their prospects and their requirements.
Background
We have our own in-house Lead Management System, and as a member of the automation team, I and my peer Gopabandhu Barik were assigned the responsibility of automating the system.
I used Selenium (in JAVA) for the above purpose. To get into the system, first, I used my official credential to log in.
The application consists of 3 roles namely.
Admin,
Sales, and
Delivery Owner
To cover most scenarios, I used the account with Admin privileges. Upon a successful login, the registered lands on the Dashboard page.
What is Selenium?
Selenium is a widely used tool that automates web browsers, facilitating the creation of scripts for automated interactions with web applications.
QA professionals can utilize Selenium to automate processes without the need for manual clicks through tasks on the web. Selenium programmatically emulates human actions, such as clicking buttons, filling out forms, and navigating websites.
It supports various programming languages like Java, Python, C#, and Ruby, making it accessible to many developers.
Benefits of Using Selenium in Java
Powerful and flexible
Selenium is a powerful and flexible automation tool that can be used to automate a wide variety of tasks.
Open source
Selenium is an open-source tool, which means that it is free to use and modify.
Cross-Browser Compatibility Testing
Selenium enables testing web applications across multiple browsers, ensuring compatibility and a consistent user experience.
Integration with J Meter
Selenium can be integrated with J Meter, allowing you to create robust automation scripts for testing while simulating user load tests.
How to Set Up Selenium in Java
Before you start using Selenium in Java, you need to set up your development environment. Follow these steps:
Java Installation
Ensure you have Java Development Kit (JDK) installed on your Windows machine. You can download it from the official Oracle website. Or
IDE (Optional)
You can use an Integrated Development Environment (IDE) like Eclipse or IntelliJ IDEA for writing and running Selenium scripts. Download and install your preferred IDE.

Download and Install Selenium WebDriver
Download Selenium JAR Files: Visit the official Selenium website and download the latest version of the Selenium WebDriver Java bindings.

Download and Configure Browser Drivers
Download Browser Drivers
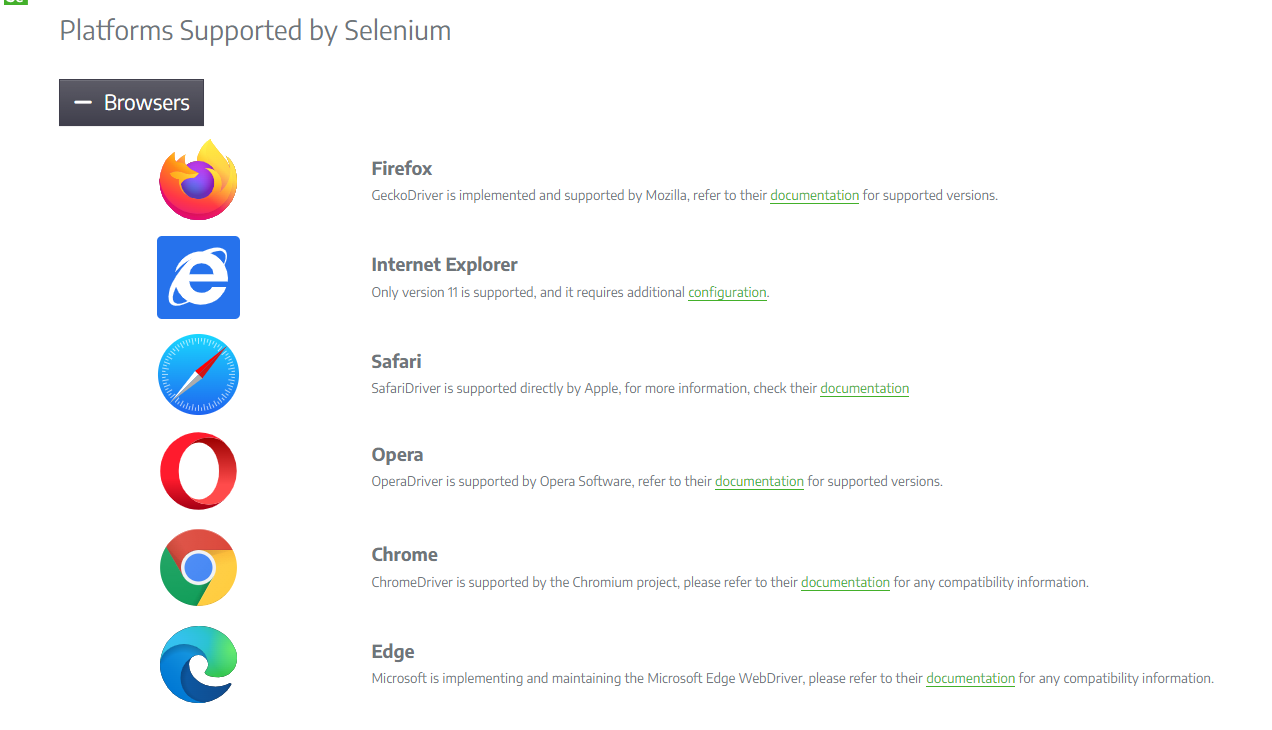
1. Depending on the web browser you need to automate (e.g., Chrome, Firefox, Edge), download the respective browser driver executable ( https://www.selenium.dev/downloads/ )
2. For Chrome, download ChromeDriver from the official site.
3. For Firefox, download GeckoDriver from the official site.
4. For Edge, download the Microsoft Edge WebDriver from the official site.
Set Up Your Selenium Script Using Eclipse
1. Open Eclipse and create a new Java project.
2. Add the Selenium WebDriver JAR files to the project's build path.
3. Create a new Java class and import the packages.
package Basicweb;

import org.openqa.selenium.By;
import org.openqa.selenium.WebDriver;
import org.openqa.selenium.chrome.ChromeDriver;

public class Firsttestclass {
public static void main(String[] args) {
System.setProperty(
"webdriver.chrome.driver","C:\\Users\\Utkal Labs\\Desktop\\New folder\\chrome\\chromedriver.exe");
WebDriver driver = new ChromeDriver();
driver.get("https://leadstaging.utkallabs.com/");

driver.manage().window().maximize();

driver.findElement(By.name("email")).sendKeys("Vivek.singhdeo@utkallabs.com");
driver.findElement(By.name("password")).sendKeys("12345678");
driver.findElement(By.xpath(
"//*[@id=\"root\"]/div/div[2]/div[2]/div/div/div[2]/div/form/div/div[4]/button")).click();
driver.findElement(By.cssSelector(
"input[class= 'MuiButtonBase-root MuiIconButton-root MuiIconButton-sizeMedium css-10ygcul']")).click();
System.out.println(driver.getTitle());
System.out.println(driver.getCurrentUrl());
driver.close();
    }
}
- Create a new WebDriver object, passing in the path to the ChromeDriver executable as an argument.
WebDriver driver = new ChromeDriver();
5. Use the WebDriver object to navigate to the web page that you want to automate.
driver.get("https://leadstaging.utkallabs.com/");
6. Use the WebDriver object to interact with the web page elements. For example, you can use the findElement() method to locate a web element and the sendKeys() method to enter text into a text field.
driver.findElement(By.name("email")).sendKeys("Vivek.singhdeo@utkallabs.com");
driver.findElement(By.xpath(
"//*[@id=\"root\"]/div/div[2]/div[2]/div/div/div[2]/div/form/div/div[4]/button")).click();
driver.findElement(By.cssSelector(
"input[class= 'MuiButtonBase-root MuiIconButton-root MuiIconButton-sizeMedium css-10ygcul']")).click();
7. Use the close() method to close the WebDriver object and the web browser.
driver.close();
Going Forward
In the forthcoming blog, we will embark on creating content centered around JMeter and Selenium primarily focusing on showing you the details of load testing using
JMeter and Selenium.
Stay tuned for an insightful exploration into the practical application of these tools in the realm of performance testing. 🥂


